Build a Plywood Cutting Grid with Just a Circular Saw
Need a plywood cutting grid but short on shop tools? Workshop Companion shows how to build a sturdy one using only a circular saw, drill, and a few hand tools – perfect for anyone facing a roadside breakdown or limited equipment.

Let’s be honest, plywood can be a pain. Warping, tearout, the constant worry about making a perfect cut… it’s enough to make even a seasoned woodworker sweat. That’s why a good cutting grid is essential. But what if you don't have a full-blown wood shop, complete with a table saw and a miter saw? That's the question Workshop Companion tackled in their latest video, and the answer is surprisingly clever.
This isn't just about building a jig; it's about resourceful problem-solving. Think of it as a testament to the Rogue Carpenter spirit – making do with what you have and still producing quality work. We’re talking about using a circular saw, a hand drill, and a bit of ingenuity. This is the kind of skill that’ll keep you building even if your shop's temporarily out of commission. It's a skill to pass down to the Rogue Schoolers out there who are teaching the next generation of builders.
The design itself is deceptively simple. The grid is built around knockdown sawhorses – easy to assemble and disassemble, perfect for portability. Each sawhorse leg is cut at specific angles (15° front-to-back, 25° outward, and double-beveled on the ends) to create a stable, self-supporting structure. These angles might sound intimidating, but the video cleverly uses a simple plywood jig to turn a circular saw into a makeshift miter saw. Nick’s ingenuity here is worth highlighting – a true testament to the power of accessible woodworking.
The construction involves some compound angles, but don't let that scare you off. As Nick points out, you’re already making compound angles every time you use a circular saw. It’s all about understanding the geometry and applying it creatively. This project is a great exercise in visualizing angles and developing a feel for how wood behaves under the saw.
Beyond the technical steps, the video embodies the ethos of accessible woodworking. It's a reminder that you don't need a fancy shop to create useful and well-made things. It’s the kind of project a Carpenter Angel would be proud of – demonstrating resourcefulness and a commitment to sharing practical skills.
If you're looking for a project that’s both rewarding and educational, this plywood cutting grid is a fantastic choice. It’s a perfect opportunity to hone your circular saw skills, build a valuable tool for your shop, and embrace the Rogue Carpenter mindset. Consider gathering a few folks for a Field Trip to a local shop to see similar jigs in action, or even a Live Workshop at a HolyPlace to learn firsthand.
Want to dive deeper into this kind of practical woodworking? There are a few ways to get involved. First, connect with a Carpenter Angel near you—someone who can offer guidance and mentorship. Next, consider signing up for a wood shop class to learn the fundamentals. Perhaps you're ready to list a custom commission and put your skills to work. And of course, create a profile to showcase your work and connect with other woodworkers.
Frequently Asked Questions
Loading comments...
Related Posts

Stop Measuring Twice, Cut Once… and Build a Picket Marking Jig

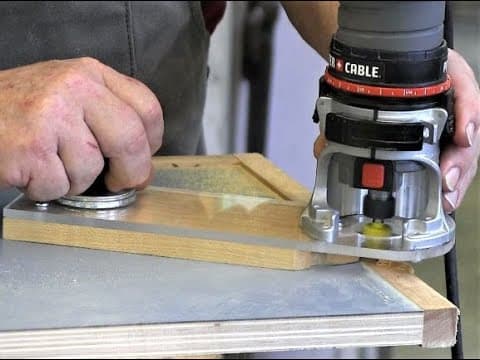
Router Plane Jig: Flush Cuts Just Got a Whole Lot Easier

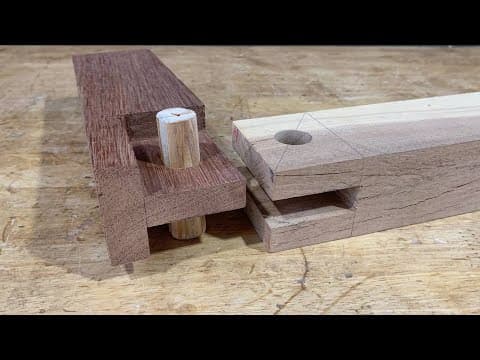
Dialing in Precision: Mastering the Half-Lap Joint with a Solid Jig
