Mastering the Four-String Braid: Elevating Your Leather Craft Techniques
Elevate your bag wallets and saddle accents with this foundational braiding technique, perfect for turning raw hide strips into high-end, marketable goods.

There are skills you learn that are purely technical—a perfect stitch line, the right tension on a saddle girth, or the flawless finish on a belt. Then there are the skills that fundamentally change the potential of your craft. Braiding is one of them.
When you are building your business—whether you’re working on a client’s custom holster or designing your next best-seller wallet—you are constantly looking for ways to add complexity, strength, and visual interest without sacrificing speed or quality. The four-string flat braid is a deceptively simple pattern, but mastering it is a huge step up in your technical repertoire. It’s the kind of technique that takes a basic strip of hide and turns it into a signature, professional finish.
The Pattern of Precision: Learning the Four-String Braid
This technique requires patience, but the payoff in visual impact is huge. It’s a pattern that looks complex, but once you understand the rhythm—the alternating over and under motions—it becomes almost meditative. Think of it like a code you are learning to read and write with your hands.
We’ve broken down the steps below. Watching the process is the best way to absorb the rhythm. Pay close attention to the starting crossovers; they set the entire pattern in motion.
Breaking Down the Over-and-Under Rhythm
The core of this braid is rhythm. It’s not just random weaving; it’s a specific sequence of crossing and tucking. To keep your strips neat and uniform, remember to maintain consistent tension on all four strands as you work down. If your strands start to sag or bunch, pause, gently adjust, and re-establish the tension before continuing.
“Every time I thought my wallet was done, I found a way to elevate it with a braid or a specialized stitch. The technique is what makes the piece sing.” — A founding Tanner member.
As you practice this on scrap material, don't just focus on the pattern; focus on the *muscle memory*. The goal is to make the movement feel intuitive. You want to reach a point where you don't have to consciously think, 'Now over, now under, now over.' You just *do* it.
From Technique to Entrepreneurship: The Material-Pipeline View
Remember why we are here. This network, the Rogue Tanners community, is built on the principle: learn the craft, become the entrepreneur. A technique like this isn't just for personal satisfaction; it is a sellable skill. It elevates the perceived value of everything you make.
Consider how this braid can be applied across the Material-Pipeline. Are you making a bespoke set of knife rolls for a Rogue Chef? Add this braid to the closure straps. Are you working on a set of equestrian tack for a Rogue Roper? Use it on the bridle accents. For a bag or a wallet, it provides a durable, striking border that screams quality and time investment.
This braid is a perfect example of a high-impact, low-difficulty skill addition. It requires minimal specialized equipment—just your hide strips and your hands—but it significantly increases the perceived value of your finished goods. It’s the difference between a 'nice wallet' and a 'master-crafted, heirloom piece.'
Pro Tips for Consistency and Mastery
- Start Small: Don't attempt a full-sized bag first. Practice the braid on 4-inch strips until your hands are moving without conscious effort.
- Material Choice: Use a slightly thicker, more stable hide than you might normally use for simple stitching. This will help the braid hold its shape and resist warping.
- Finishing Touches: Once the braid is long enough, don't forget to treat the ends. A little bead of colored wax or a subtle burnish will make the finished look pop.
Keep practicing, keep challenging yourself, and never stop viewing your skills through the lens of the business. Every new knot, every perfected stitch, is another piece of your portfolio, another layer of value for the Sovereign.ink market. What project are you going to make with this braid first?
Frequently Asked Questions
Loading comments...
Related Posts
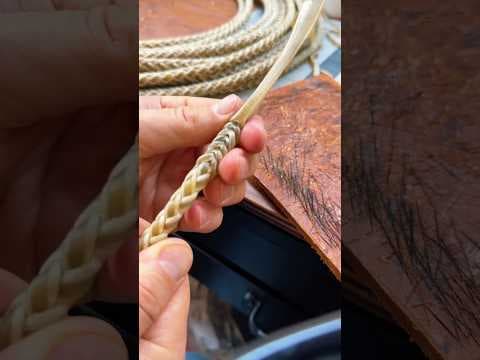
Mastering the Braided Finish: Adding Rattle-Work to Your Leather Lineup

Level Up Your Braiding: Scott Gorer's Bmaker School & Your Rogue Tanner Journey
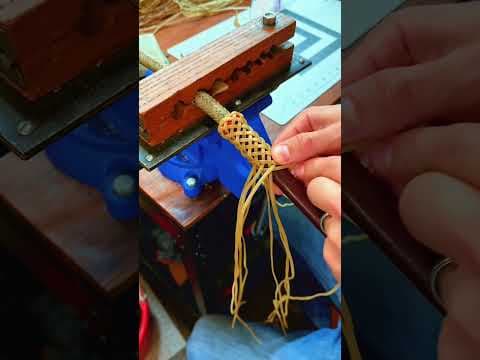
Patience & Precision: Braiding Your Way to Quality Tack (and a Business)