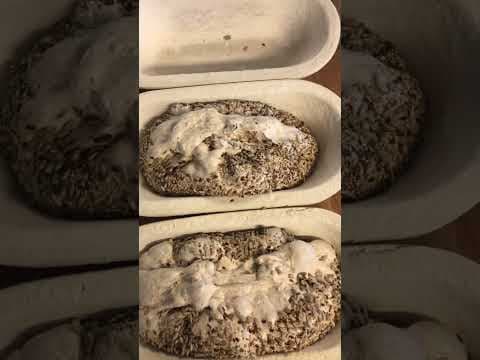
Shaping High-Hydration Seeded Loaves: A Rogue Baker's Guide
High hydration doughs can feel like wrestling a slippery octopus, but with a few tricks and a bit of practice, you can shape beautiful, seeded loaves. Let's break down the techniques shown in this video, and why they work.

G'day, Rogue Bakers! Ever feel like your seeded loaves are collapsing like a poorly-built sandcastle? It’s a common frustration, especially when you’re pushing hydration levels. That feeling of the dough fighting you every step of the way? Yeah, we've all been there. It's not a sign of failure; it's a sign you're learning. This week, we’re diving into shaping techniques from Outback Jack's video – specifically tackling that 95% hydration, 30% whole grain beast. It's a challenge, but a rewarding one. Let’s get into it.
Understanding the Challenge: Hydration and Whole Grain
Before we get to the shaping, let’s quickly recap why high hydration and whole grains make things trickier. 95% hydration means the flour only makes up 5% of the dough’s weight – that's a whole lotta water! This creates a very slack, sticky dough. Whole grains, like whole wheat or rye, absorb more water and have more bran, which interferes with gluten development. Both of these factors contribute to a dough that's eager to spread out and lose its shape.
Shaping Techniques: What Jack’s Showing Us
Jack's video focuses on a pre-shape and then a final shape, and that’s a smart approach. Here's what we can learn:
- Gentle Pre-Shape: Notice how Jack isn't aggressively degassing the dough. The goal here isn’t to force the air out, but to gently consolidate the dough and build some initial tension. Too much handling at this stage will weaken the gluten.
- The Fold and Flip: This is a crucial technique for building strength in high-hydration doughs. It's a gentler alternative to a full kneading, encouraging gluten development without overworking the dough. Watch how Jack uses his bench scraper to help lift and fold.
- The Final Shape – Avoiding the Roll: Jack demonstrates a technique that avoids a full roll. A strong roll can over-deflate a high hydration dough. He’s essentially creating a tight ball by tucking and pinching the edges.
- Seeding Strategy: Jack strategically adds seeds *after* the final shape. This prevents them from sinking into the dough during proofing and helps create a more even distribution on the crust.
Why Does This Matter? (The Science Bit)
All these techniques are about managing gluten development. High hydration doughs have less gluten to begin with. Aggressive handling breaks those weak gluten strands. Gentle shaping, folding, and a careful final shape are all designed to build strength without destroying it. Think of it like carefully scaffolding a building – you want to support it, not knock it down.
Tips for Your Own Baking
- Flour Power: Experiment with different flours and hydration levels. Start lower and gradually increase the hydration as you become more comfortable.
- Bench Scraper is Your Friend: Seriously. Invest in a good one.
- Watch the Bulk Fermentation: Don’t rush this stage. Observe your dough – it should be airy, bubbly, and have some signs of activity, but not be overly inflated. Bread Angels like Sarah at HolySourdough offer invaluable insight into fermentation; check out her storefront for advice.
- Practice Makes Progress: Don’t be discouraged if your first few attempts aren’t perfect. Every loaf is a learning opportunity. Guild Masters are often available to offer personalized guidance – find one through the Rogue Bakers classifieds.
Now get in there and wrestle that dough! Remember, baking is a journey, not a destination. And even if your loaf isn’t perfect, it’ll still taste delicious.
Frequently Asked Questions
Loading comments...
Related Posts
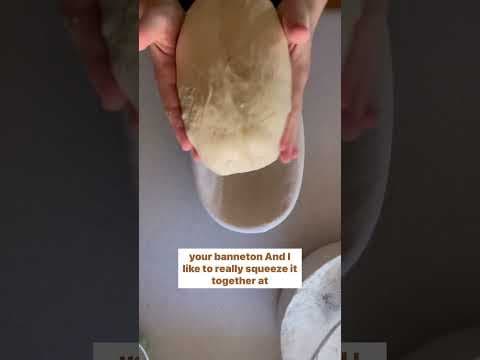
Simple Sourdough Shaping: A No-Fuss Method for Lower Hydration Doughs

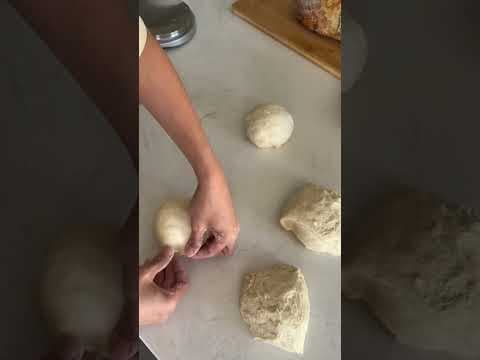

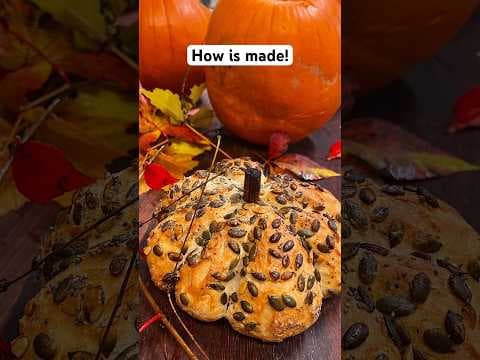
Shaping Up: Getting Your Sourdough to Look Like Anything You Want
