Silver Inlay: Elevating Japanese Blades with Sisal Methods
Want to add a touch of artistry to your blades? This video dives into a meticulous silver inlay technique, outlining the process from piercing to nanako texture. It's a deep dive for those ready to refine their blade work.

There's a certain satisfaction in pushing beyond the basics of bladesmithing. We all know the drill: forging a billet, manipulating damascus steel, getting that perfect hamon, and dialing in the heat treat. But what about adding a layer of visual complexity? Silver inlay, as demonstrated in this video, is a serious step up – a way to truly elevate your work.
The process showcased isn't just about gluing silver onto a blade. It’s a carefully planned sequence of controlled material removal and precise fitting. The creator uses a technique called sisal methods, likely referring to a specialized engraving and carving approach. It's a level of detail that separates the aspiring knife maker from the seasoned artisan.
Let’s break down the key steps. It begins with piercing cherry blossom designs from silver sheet. Then, a VG Graver meticulously outlines the design on the blade itself, creating a recessed perimeter. This is followed by careful use of flat chisels to remove the material within the outline – a step that demands absolute precision to avoid damaging the surrounding steel. Dovetailing the edges of the recess is crucial for a clean, tight fit.
Next comes the inlay itself. The silver piece is hammered into the prepared slot, followed by more engraving and liners to refine the edges. Filing cleans up the surface, and more gravers shape the silver to match the curve of the blade. A small punch creates a nanako texture – a subtle yet impactful detail that adds another layer of visual interest. The final step, the Habachi, indicates a continued refinement of the finish.
This isn't a technique for the faint of heart. It requires a solid foundation in hand engraving and carving. Think of it as the equivalent of mastering a complex grind profile – it takes time, practice, and a deep understanding of your tools. If you're already comfortable with basic forging and sharpening, this could be your next challenge. For those ready to take the leap, consider attending a Live Workshop at a HolyPlace or a Field Trip to a bladesmithing shop to see masters at work.
Whether you're a seasoned Blade Angel or just starting to explore the world of edged tools, this video offers a fascinating glimpse into the artistry of bladesmithing. It’s a reminder that the pursuit of craft is a lifelong journey – always pushing the boundaries of what's possible.
Want to level up your skills? Find a Blade Angel in your area, sign up for a forge class, or list a custom commission. And, of course, create your own profile to share your journey.
Frequently Asked Questions
Loading comments...
Related Posts
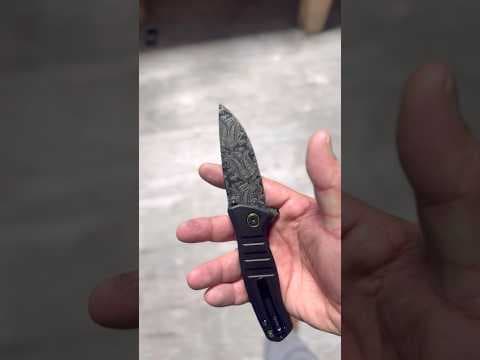
The Final Polish: How Engraving Transforms a Blade into Art

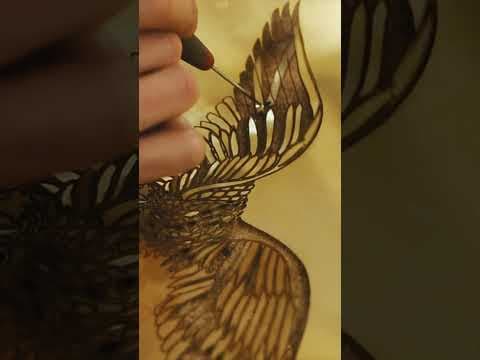
Laser-Cut Stencils: A Clever Trick for Bladesmithing Detail


Forged in Fire Fails: Takoba vs. Attila's Sword – What Went Wrong?
