The Standard of the Craft: Mastering Ground Bar Installation (NEC 110.14(D))
Ground bars are not just random metal strips—they are critical safety components. Learn the precise techniques and code requirements to install them like a Master Journeyman.

Every single tradesman knows that the job is only as good as the detail. You can run the perfect conduit, nail the finish carpentry, and wire the most complex control system, but if you skip a critical safety step—or worse, do it wrong—the whole structure is compromised. The difference between an Apprentice, a Journeyman, and a Master isn't just the years clocked in; it's the standard of care and the attention paid to the smallest, most overlooked detail.
When dealing with electrical service, the integrity of the grounding system is paramount. We’re talking about NEC 110.14(D) compliance, and the centerpiece of that compliance is the proper installation of the ground bar. This isn't a job for guesswork; it requires precision, the right tools, and a deep understanding of your panel’s architecture.
Ground Bar Mastery: More Than Just a Metal Strip
A ground bar is far more than just a chunk of metal bolted into a load center. It is the primary conduit for grounding all the metallic components within your electrical system, ensuring safety and protecting equipment from ground potential differences. But simply attaching it isn't enough. If you fail to adhere to proper torque specifications or place it incorrectly, you create a safety hazard that can lead to severe failures down the line.
The process requires understanding the panel itself. Some load centers are designed to be "convertible," meaning they can function as a sub-panel or be upgraded to a main panel simply by adding a main breaker. But regardless of the panel type, the ground bar installation follows strict rules.
Pro Tip for the Rogue Tradesman: Always verify the ground bar is specifically designed for the panel brand you are working on (Square D, Eaton, Siemens, etc.). A generic bar won't cut it when the safety of the structure is on the line.
The Three Pillars of Perfect Installation
Mastering this technique boils down to three non-negotiable pillars: Compatibility, Placement, and Torque.
Pillar 1: Compatibility and Location
- Check the System: Determine how many terminals your ground bar needs to accommodate (9-terminal, 15-terminal, etc.).
- Identify the Points: Note the specific locations on the load center designed for ground bar attachment. Many panels offer multiple attachment points (using nubs, using screws, or a combination) to provide flexibility.
- Avoid Interference: This is the most crucial placement consideration. You must position the ground bar so that it does not interfere with the running of any service entrance cables, feeder cables, or branch circuit wires. Let’s face it: nothing is worse than a cable chafing against a poorly placed ground bar.
Pillar 2: Torque and Precision
The biggest mistake an Apprentice can make is assuming that "tight" means "safe." In electrical work, "tight" means nothing. You must use a calibrated torque screwdriver or torque wrench. The transcript highlights that attaching the ground bar can require specific torques, such as 30 pound-inches. Using the wrong torque can lead to either a loose connection (a safety risk) or an over-stressed connection (damaging the panel). Always use the correct tool for the job.
Final Checks and The Entrepreneurial Mindset
Once the ground bar is in place, the job isn't done. You must:
- Verify Torque: Confirm that every required screw and stud is torqued down to the precise specification.
- Document Everything: Treat this installation like a blueprint. Documenting the proper placement and torque used elevates your work from simple labor to certified, professional craftsmanship.
- Consider the Next Job: As a founding tradesman, every job you complete is a case study. By mastering this detail, you aren't just installing a ground bar; you are building the reputation that allows you to eventually become the Founding Faculty of your own specialized sub-movement.
Remember, the goal of the Trade School umbrella is to raise the standard for *all* of us. By perfecting these foundational techniques—from the simple cabinet making to the complex electrical grounding—we ensure that the quality of the trade never declines. Take the time. Use the proper tools. Follow the code. That's how you transition from employee to Master Tradesman.
Frequently Asked Questions
Loading comments...
Related Posts
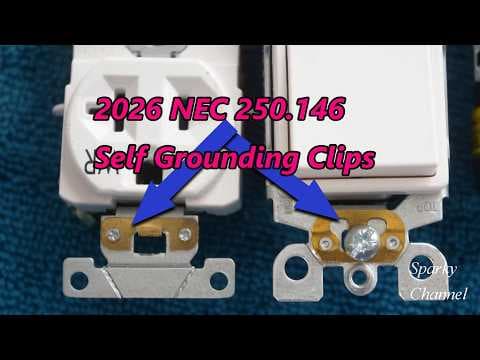
Decoding the Little Brass Things: Self-Grounding Clips & the 2026 NEC

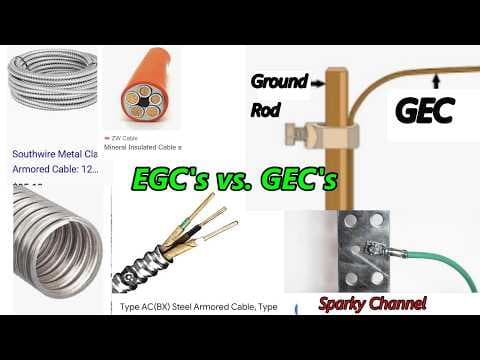
EGCs vs. GECs: Decoding the 2026 NEC for Rogue Tradesmen
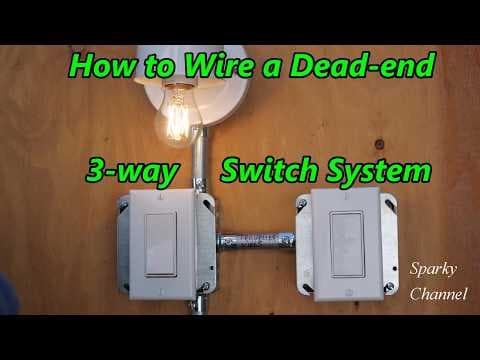
Dead-End 3-Way Switches: A Rogue Tradesman's Perspective